
Last updated November 2, 2026
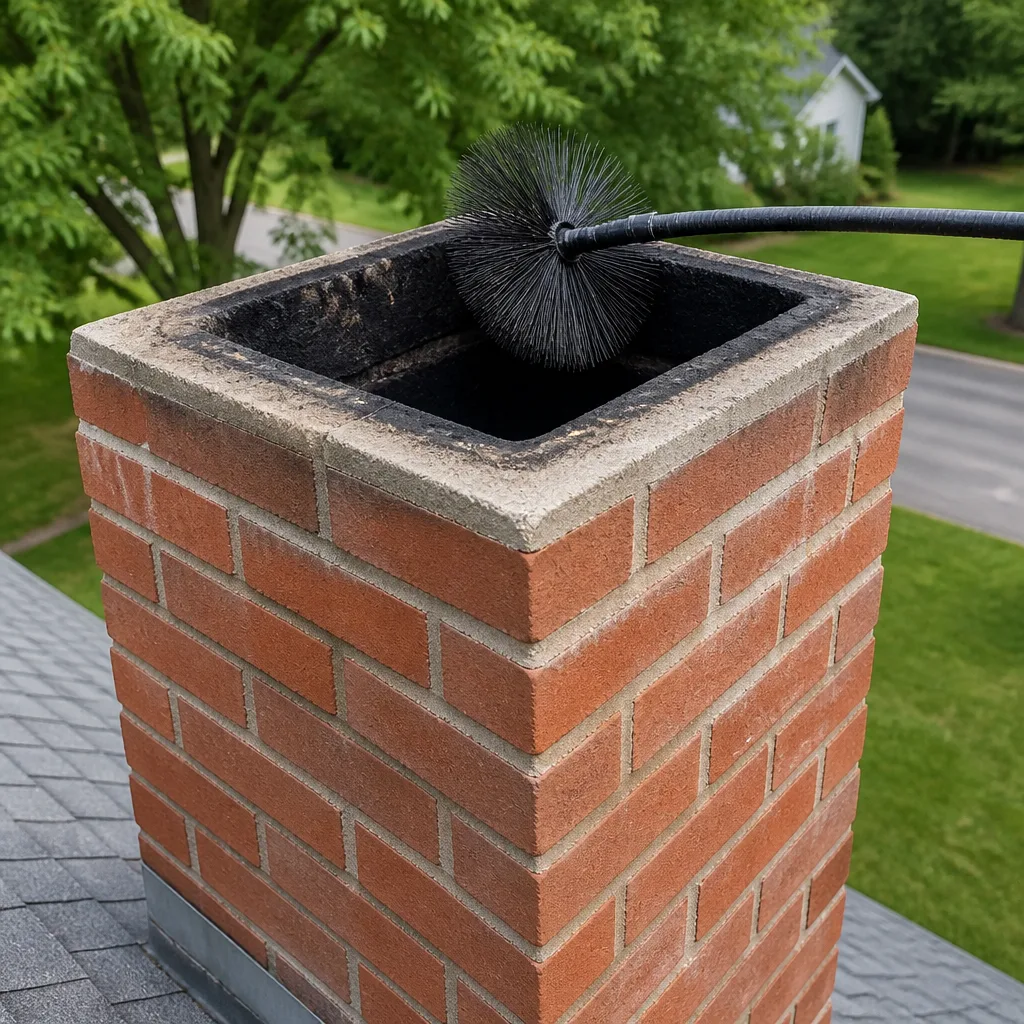 Sweep & inspection
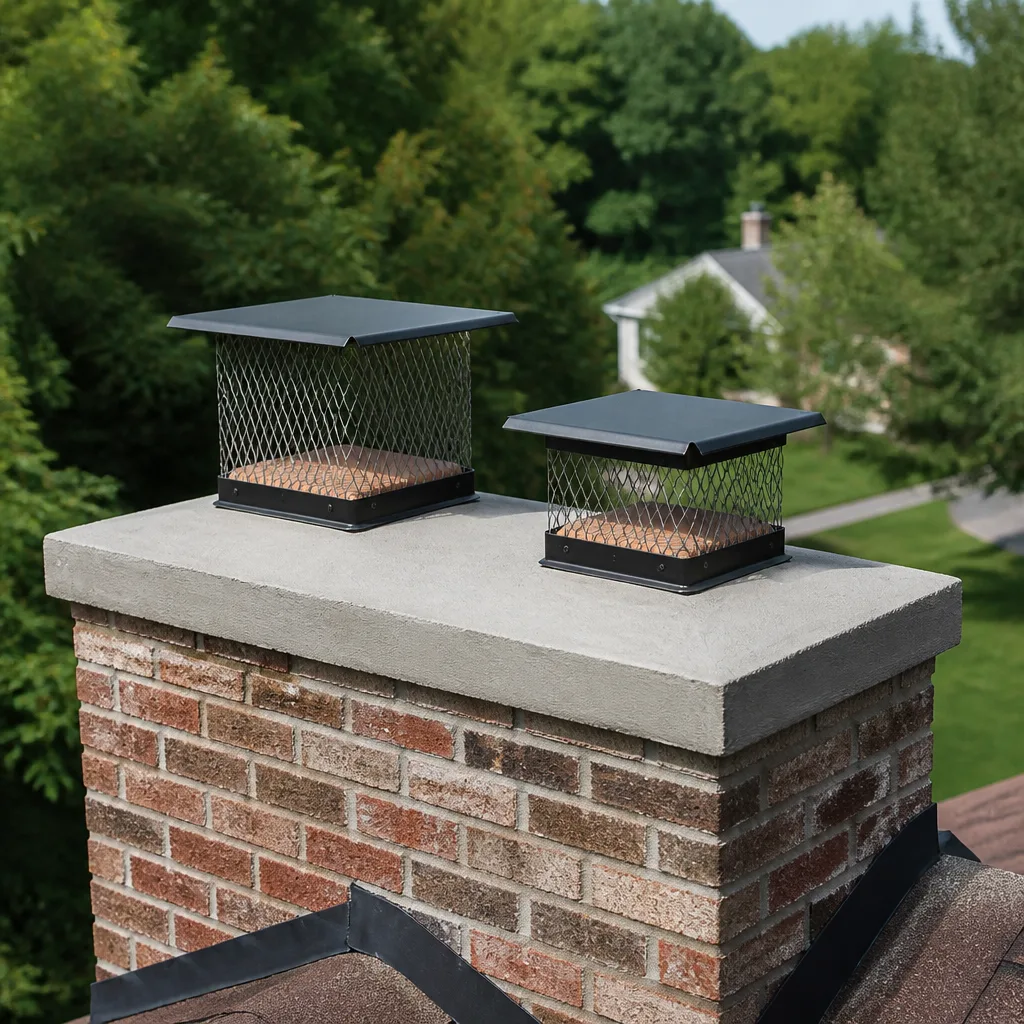 Caps & crowns
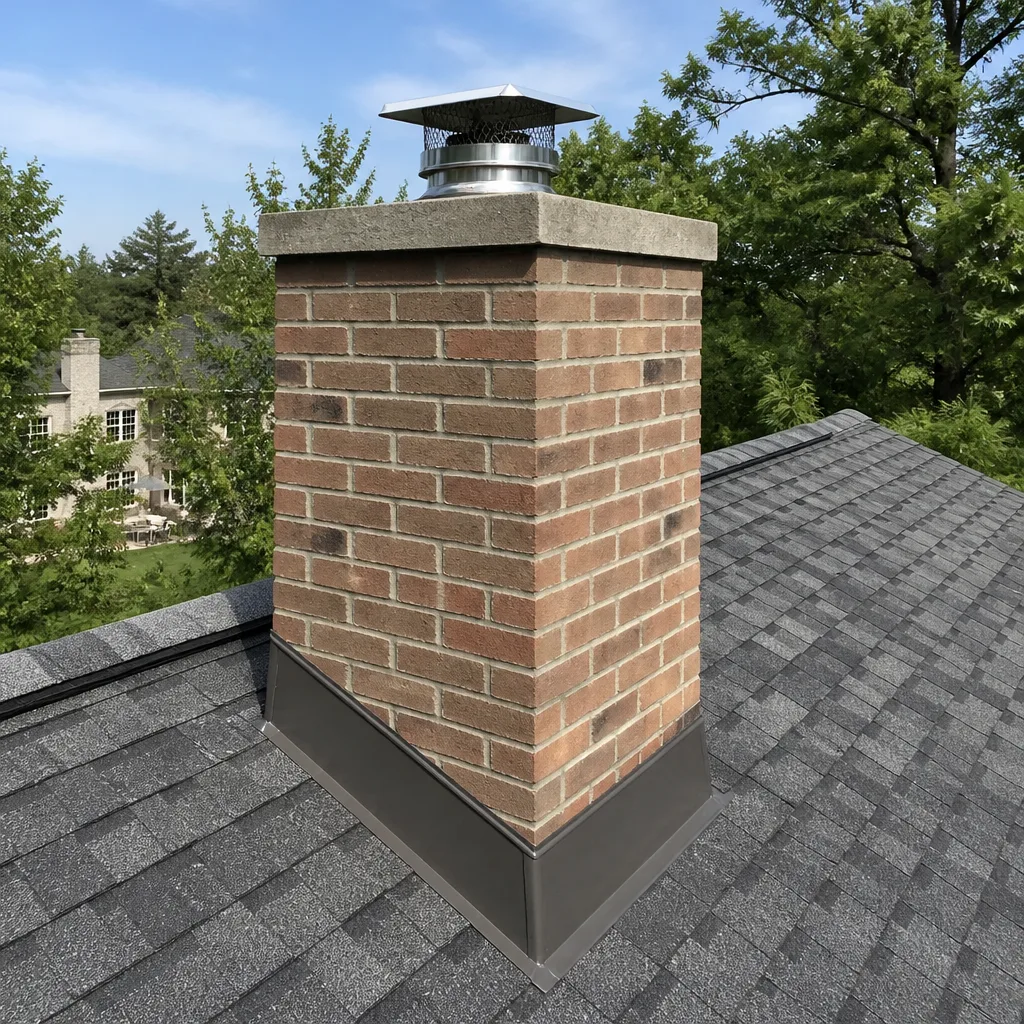 Flue relining
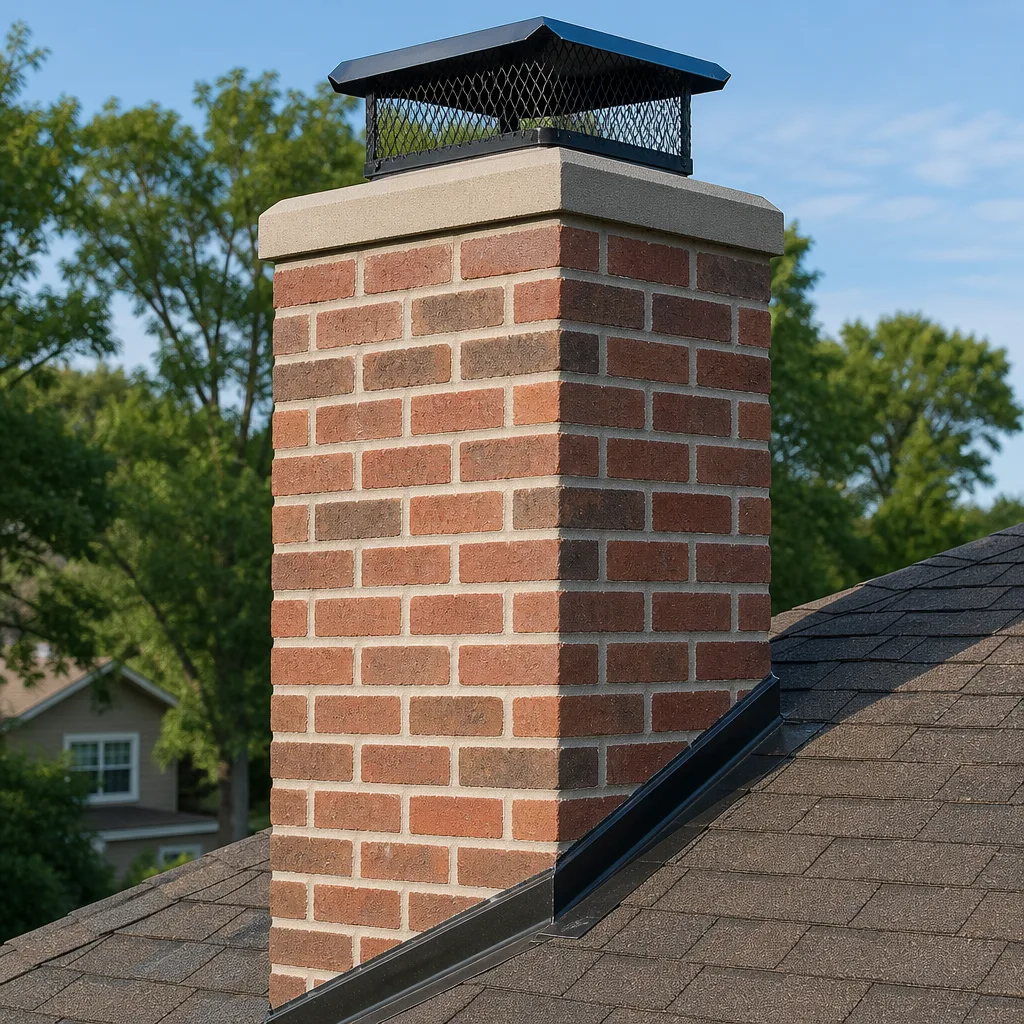 Masonry repair
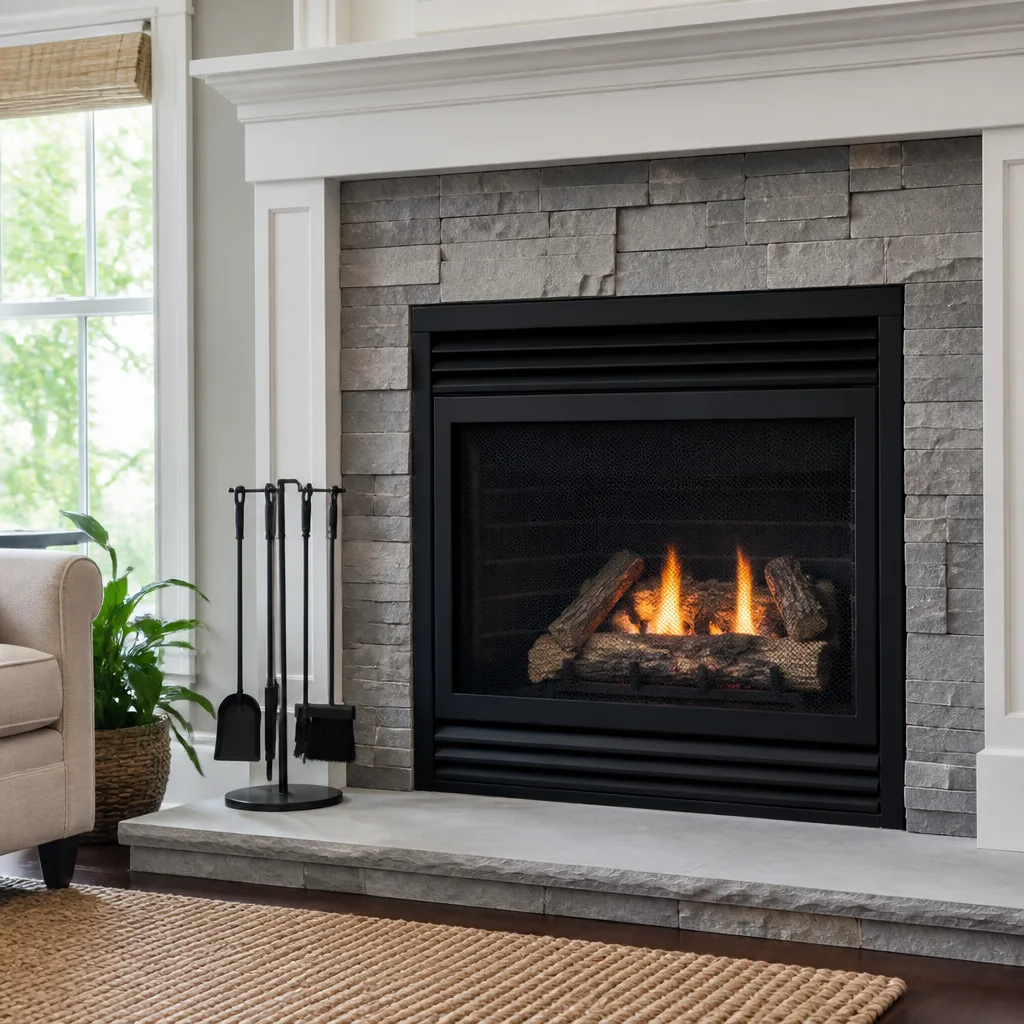 Gas fireplace service
Level 1 sweep and inspection to the NFPA 211 annual standard - flue, crown, cap, and flashing checked and photographed
Chimney sweep logs do not sweep chimneys. They loosen some creosote - which then falls where a brush and vacuum still have to collect it.
Chimney Sweep Maintenance Checklist for Panorama City Homeowners
A chimney “passed inspection” means nothing if you don’t know what was actually inspected. Most Panorama City homeowners can’t name the five components a sweep should examine, which means they have no way to verify the job was done properly. This guide changes that. We’re going to walk through a component-specific checklist you can use before, during, and after our Chimney Sweep services, organized by the two main chimney types found across the San Fernando Valley: masonry systems and prefabricated systems. You’ll learn what to photograph, what to check from the ground, and which observations actually matter for fire safety in a Panorama City home.
Quick Answer
A proper chimney maintenance checklist for Panorama City homeowners covers five core components: the cap and crown (or chase cover on prefab systems), the flue liner, the smoke chamber and damper, the firebox, and the exterior masonry or siding. You should visually inspect the exterior monthly during burn season, document your chimney’s baseline condition with phone photos, and schedule a professional sweep annually or after every 50 to 70 fires. The critical distinction is knowing whether you have a masonry chimney or a prefabricated one, because they fail in completely different ways. For Chimney Sweep Troubleshooting: Common Problems and How to Fix Them, identifying your system type is the first step.
Styles & brands we work with
- Sweep & inspection
- Caps & crowns
- Flue relining
- Masonry repair
- Gas fireplace service
Table of Contents
- Know Your System: Masonry vs. Prefabricated
- The Exterior Checklist: What to Look for From the Ground
- The Interior Checklist: Firebox, Damper, and Smoke Chamber
- Liner Inspection: The Component Most Sweeps Skip
- Documentation: How to Build a Baseline Record With Your Phone
- Seasonal Checklist Variations for Panorama City
- What You Can See From the Ground vs. What Requires a Professional
- Common Mistakes to Avoid
Know Your System: Masonry vs. Prefabricated
Before you can maintain a chimney, you need to know which kind you have. The two types don’t share the same failure points, and a checklist written for one will miss serious problems on the other. In Panorama City, most homes built before the 1980s have traditional masonry chimneys: brick or stone exteriors, clay tile liners, and a poured concrete crown at the top. Homes built after that, particularly in the townhome and condo developments that spread through the central Valley, more often use prefabricated systems: a metal firebox connected to a double or triple-wall metal flue pipe, wrapped in a wood-framed chase and topped with a metal chase cover.
Here’s the quick identification test. If you see brick or stone running from the ground all the way to the top, it’s masonry. If you see siding, stucco, or wood framing around the chimney with only a metal cap visible at the top, it’s prefabricated. If the firebox inside looks like a metal box rather than brick, that confirms it.
The difference matters because of how each system ages. Masonry chimneys in Panorama City deal with three forces: the freeze-thaw cycle in winter (mild here compared to the mountains, but still real on cold January mornings), the relentless dry heat of summer, and the Santa Ana winds that push dust and debris into every gap. The mortar joints between bricks are the weak point. Prefabricated systems don’t have mortar, but they have a chase cover at the top, and that chase cover rusts. When it rusts through, water enters the chase and runs down the outside of the flue pipe, causing damage that’s invisible from outside until it’s severe.
If you’re not sure which system you have, the Chimney Sweep Panorama City home page explains our full service area and how we assess both system types on the first visit. We’ve inspected both across the Valley, and the distinction doubles the value of every observation on the rest of this checklist.
The Exterior Checklist: What to Look for From the Ground
You don’t need a ladder for most of this. A smartphone camera with zoom and a pair of binoculars will get you 80% of the information a professional gleans from the ground. Work through these items in order, and photograph anything that looks off.
- Check the cap. For masonry chimneys, look for a metal cap with a spark arrestor screen on top. Is it straight? Is the screen torn or missing? For prefabricated systems, look at the chase cover (the flat metal plate surrounding the flue pipe at the top of the chase). Rust streaks running down the siding below it are a red flag. In Panorama City, we regularly see chase covers corroded through from years of pooled rainwater and sprinkler overspray.
- Examine the crown. For masonry chimneys, the crown is the concrete slab that seals the top of the brick structure around the flue liner. Cracks wider than about 1/8 inch let water into the brick below. If the crown looks like a jigsaw puzzle, water is getting in. A proper crown should overhang the brick slightly so water drips free rather than running down the face of the chimney.
- Look at the mortar joints. Walk around the chimney and look at the vertical and horizontal joints between bricks. Places where the mortar looks recessed, missing, or powdery indicate moisture damage. Pay special attention to the side that faces the weather, which in Panorama City means the south-facing side that gets the afternoon sun and the side facing any prevailing wind.
- Check the flashing. Where the chimney passes through the roofline, metal flashing seals the gap. If the flashing is lifted, rusted, or covered in old roofing tar that’s cracking, water is likely entering at that point. This is one of the most common leak sources we find on chimney repairs in Panorama City, and it’s often misdiagnosed as a roof leak.
- Scan for efflorescence. That’s the white, chalky deposit that appears on brick when water has passed through it and evaporated, leaving minerals behind. It looks like someone dusted the chimney with powder. Efflorescence anywhere on the chimney means water is moving through the masonry, which means something above it (crown, flashing, cap, or mortar) has failed.
- Look for spalling. Spalling is brick that’s flaking, peeling, or shedding its face. If you find small red brick chips at the base of the chimney around the roof, that’s a spalling chimney. It’s what happens when water gets into the brick, freezes, and pops the face off. Left unaddressed, spalling brick eventually loses enough mass to become a structural concern.
None of these observations require touching the chimney or climbing onto the roof. But they do require knowing what a healthy chimney looks like. That is why we recommend photographing all six items during a period when you know the chimney is in good working order. The baseline becomes the comparison point for every future inspection. For a deeper walkthrough of what a professional sweep includes, see our Chimney Sweep in Panorama City page.
The Interior Checklist: Firebox, Damper, and Smoke Chamber
The interior checklist is shorter but requires a flashlight and a willingness to look up. Here’s the order we use on every visit, and you should follow the same sequence.
- The firebox. This is the part you see. Check the floor and walls for cracked refractory panels, loose bricks, or gaps where the firebox meets the surrounding masonry or metal framing. In a masonry fireplace, the firebox should be made of firebrick or refractory panels rated for high heat. In a prefab system, the panels are factory-installed and should show no visible cracks wider than a dime. Cracks let heat reach combustible material behind the firebox.
- The damper. Look up from the firebox and find the metal plate that opens and closes the flue. It should open and close smoothly with the handle or lever. It should seal reasonably well when closed, though a perfect seal is rare on older units. If the damper is rusted, warped, or missing, you are losing conditioned air up the chimney all year round, not just during burn season.
- The smoke shelf. Just above the damper, the smoke chamber narrows into the flue. This is where creosote and debris collect because the airflow slows in this transition. You cannot see this area fully from the firebox, which is exactly why a professional uses a camera. But if you look up with a flashlight and see a thick black coating on the walls above the damper, that’s the smoke chamber showing you what it’s been collecting.
- The damper frame and throat area. Run your hand along the metal frame the damper sits in, if you can reach it. Rust, flaking metal, or gaps between the frame and the masonry indicate that the damper is deteriorating. This is a listed component in most chimney inspections but rarely checked by homeowners, and it’s a common place we identify deferred maintenance before it becomes a functional failure.
- Debris in the firebox. Before the season starts, look for leaves, twigs, and especially nesting material in the firebox. In Panorama City’s older neighborhoods, squirrels and birds frequently nest in uncapped or damaged chimneys during the off-season. If you smell something organic or hear scratching, do not start a fire. Call for removal and a cap assessment.
The interior check is about establishing current condition, not completing a repair. If anything in the first four steps looks wrong, or if you cannot see clearly enough to make a judgment, the next step is a professional inspection with a camera. For information on what a full Chimney Repair in Panorama City evaluation covers, that page details our approach to diagnosing interior damage.
Liner Inspection: The Component Most Sweeps Skip
The flue liner is the one component you cannot see directly from either the ground or the firebox. It runs the entire length of the chimney, from the smoke chamber to the cap. It’s also the most important safety component in the entire system, because a cracked or missing liner allows flue gases, including carbon monoxide, to pass into the home through the surrounding masonry or framing.
Masonry chimneys in older Panorama City homes typically have a clay tile liner. These tiles are durable but brittle. A chimney fire’s extreme heat can crack them. The mild freeze-thaw cycles we get in winter can worsen those cracks over time. The exhaust from a gas appliance, if vented through a clay tile liner not rated for gas, creates acidic condensation that eats away at the tile from the inside. We find tile liners in two conditions most often: intact but heavily creosote-coated, or cracked in patterns that only a camera reveals.
Prefabricated systems use stainless steel flue pipe, which doesn’t crack like clay, but does corrode if the chase cover above it has leaked. The pipe also has joints that can separate if the system has shifted or settled.
The only way to know the liner’s condition is a camera scan. A flexible camera is run down the flue from the top, recording the entire length. Any professional sweep should provide this footage or at least still images from it. We make that camera inspection standard during our annual sweeps, and we walk homeowners through what the footage shows. You should never accept a liner diagnosis without seeing the evidence yourself. It’s the component most vulnerable to the “you need a new liner” upsell, and the only defense is visual proof.
For Panorama City homeowners facing liner damage, there are more options today than full replacement. HeatShield resurfacing is a ceramic-based restoration system that seals cracks and restores the liner’s integrity from the inside, using a specialized product applied through a video-monitored process. This restoration-before-replacement option extends liner life at a fraction of full relining cost, and it’s a method most generalist sweeps don’t offer because it requires materials and training beyond standard sweeping. When liner damage is confirmed with camera evidence, we discuss the repair range: from straightforward HeatShield application to stainless steel relining with DuraFlex piping, depending on the condition of the existing structure. The decision tree starts with the camera footage.
Documentation: How to Build a Baseline Record With Your Phone
Your phone is the most useful chimney maintenance tool you own, and it costs you nothing to use it this way. The principle is simple: establish a visual baseline now, so every future inspection has a comparison point. Without a baseline, you are asking a contractor to tell you what’s wrong, with no way to verify their claim. With one, you can see the change yourself.
Here’s the process we recommend for Panorama City homeowners:
- Photograph the exterior from all four compass points. Stand at ground level and shoot the full chimney from each side. Take a close-up of the cap, the crown or chase cover, and any visible flashing. Use the zoom on your phone camera if you don’t have binoculars. Do this on a clear morning when the light is direct.
- Photograph the firebox and damper from a stable position. Kneel outside the fireplace opening and shoot the firebox floor and walls, then angle up and shoot the damper and the visible throat area. Use the flash. Take multiple shots at different angles because shadows hide cracks.
- Record a short video of the chimney exterior. Thirty seconds walking around the chimney while holding the camera steady gives you a continuous record that still photos miss, especially on complex rooflines.
- Store the images in a dedicated folder with a date. Name the folder “Chimney Baseline [Month/Year].” Add photos to it after every sweep or after any significant weather event, like a Santa Ana wind episode or a heavy winter rain.
- Photograph any repair or replacement work in progress. If you have a crown resealed, a liner restored with HeatShield technology, or a chase cover replaced, ask for before and after photos. A professional contractor should provide them; if they resist, treat that as a red flag. The images become part of your permanent record.
This documentation habit pays dividends in two ways. First, it makes you a more informed customer, one who can ask specific questions rather than depending on a contractor’s summary. Second, it provides a warranty-adjacent record of what was done when, which matters when components fail early or when you sell the home and want to show maintenance history. In our experience, the homes with documented chimney histories have fewer unresolved disputes, fewer surprise failures, and more accurately scoped repairs. The camera is the tool that makes that possible.
Seasonal Checklist Variations for Panorama City
Panorama City’s climate and weather patterns create two distinct seasonal checkpoints for chimney maintenance: post-Santa Ana wind season and post-winter burn season. Each has a different list of priorities, and conflating them causes homeowners to miss the item that matters most at the right time.
Post-Santa Ana Wind Season (usually October through January)
Santa Ana winds are the defining weather event for chimney systems in this part of the Valley. The winds push dust, leaves, and small debris into any chimney opening. They test every exterior component with sustained force. After a Santa Ana episode, here’s what to check:
- Cap alignment. High winds can shift a cap that wasn’t properly secured. Check it hasn’t rotated or lifted. A displaced cap leaves the flue open to bird and rodent entry.
- Debris accumulation. Even with a cap installed, fine dust and small leaves pass through spark arrestor screens. After a strong wind event, look into the flue from the firebox with a flashlight and check for accumulated material.
- Exterior component loosening. Wind-driven rain (which accompanies some Santa Ana systems, though the winds are typically dry) can exploit any new gap in the crown or flashing. Compare your post-wind photos with your baseline and look for anything that shifted.
- Chase cover displacement on prefab systems. The large flat surface of an aluminum chase cover acts like a sail in high wind. If it wasn’t properly fastened, the corners can lift. Check for daylight under the edges from the ground.
Post-Winter Burn Season (usually February through April)
After a season of regular burning, the critical question is creosote accumulation. Creosote is produced by every wood fire; it condenses on the flue walls as smoke cools. The amount varies with wood type, burn temperature, and the design of your specific system. In the San Fernando Valley, the burn season is relatively short, so many homeowners assume they can skip a year. That’s a mistake, because even a modest season’s accumulation can become the fuel for a chimney fire.
- Check for a “campfire” smell from the fireplace during warm days. When the air in the flue warms and expands, it carries the creosote odor into the home. A strong smell means a significant coating is present. This is the single most common signal we hear about on post-season calls.
- Look for shiny, tar-like deposits in the firebox. Creosote that has reached the firebox is running down from the flue above. It appears as a dark, glossy, sometimes sticky coating. Stage-three creosote of this type is far more difficult to remove and is the most hazardous form for ignition.
- Check the glass doors or screen for a sudden increase in darkening. If your glass fireplace doors are significantly darker this season than the same number of fires produced last season, your combustion efficiency has changed, and the likely culprit is creosote constriction in the flue.
- Inspect the area around the hearth for fine black dust. Creosote can flake off the flue walls and fall into the firebox. If you are sweeping up a black powder regularly, the flue needs attention.
These two checklists are complementary. The wind season checklist focuses on exterior integrity and foreign material entry. The burn season checklist focuses on what your fires left behind. Together they cover the full year. For the fire-safety side of the system beyond the chimney itself, our Dryer Vent Cleaning in Panorama City page covers the other venting system that should get the same seasonal attention.
What You Can See From the Ground vs. What Requires a Professional
There’s a temptation in the YouTube era to treat chimney inspection as a DIY project. Some parts are. Many are not. Knowing the boundary before you start keeps you safe and keeps your expectations realistic.
Reasonable to observe from ground level:
- Overall alignment of the chimney (plumb vs. leaning)
- Visible cracks, spalling, or efflorescence on exterior brick
- Condition of the cap and spark arrestor screen (with zoom or binoculars)
- Rust streaks or staining on the chase or siding
- Flashing condition at the roofline, if visible from the ground
- Debris or nesting material collecting at the chimney base or cap
- Smoke output during a fire (heavy smoke, smoke entering the room, or an unusual color)
Requires a professional with a camera and proper access:
- Flue liner condition, full length, interior walls
- Smoke chamber condition and smoke shelf integrity
- Damper seat seal quality and throat area rust
- Crown condition viewed from above (the top surface, not just the edge)
- Chase cover condition on prefab systems (requires roof access for thorough inspection)
- Creosote thickness measurement at multiple points in the flue
- Gas appliance venting configuration and clearance verification
The reason for the professional boundary isn’t just safety, though that matters, particularly on roofs and near electrical lines that run close to chimneys in some older Panorama City neighborhoods. The deeper reason is that the component that matters most, the liner, is invisible without the right equipment. You can do a thorough ground-level inspection and still miss a cracked clay tile that is actively allowing carbon monoxide into the wall cavity. The homeowner checklist is a complement to professional inspection, not a substitute for it.
When we do a full professional sweep, we specify the right product for any repair needed and source it from the suppliers professionals trust. See Choosing the Right Chimney Cleaning Brand: A Buyer’s Guide for Panorama City for details on why we use Copperfield and Olympia Chimney components for liner work and Gelco caps for exterior closure. That supply-chain distinction matters when a repair is required. A cap sourced from a professional trade supplier is manufactured to handle the same thermal cycles and wind loading as the rest of the system. A hardware-store cap might look identical from the ground and fail two seasons later.
Common Mistakes to Avoid
- Relying on a “passed inspection” report without asking what was inspected. Ask for the camera footage. Ask what specific components were checked. A chimney sweep who says everything is fine without visual evidence is asking you to trust a summary with no record behind it. We provide camera footage from every liner inspection we complete in Panorama City.
- Waiting for a visible problem before cleaning. Creosote doesn’t announce itself. The first sign of excessive accumulation is often the chimney fire itself. The schedule matters more than the symptom. Annual sweeping is the standard for any burning household.
- Treating the chimney as separate from the house’s other venting. Your chimney and your dryer vent are both venting systems. Both accumulate flammable material. Both fail silently. We handle both because the fire-safety logic is the same, and a homeowner who maintains one while ignoring the other has half a fire-prevention strategy.
- Repainting or resurfacing without addressing the water entry point. If water is getting through a cracked crown or failed flashing, patching the visible damage on the brick face does nothing. You’ll be repointing the same joints every few years until you seal the top. The repair sequence is: stop the water, then repair the damage.
- Assuming prefab systems need less attention because they’re newer. The failure modes differ, but they fail just as readily. The chase cover is the weak point, and it rusts. A prefab system with a rusted chase cover can have water-damaged flue pipe and a firebox that’s rusting from the inside out.
- Using the wrong fuel or burning materials that don’t belong in a fireplace. Treated lumber, wrapping paper, cardboard, and trash produce creosote far faster than seasoned hardwood. They also burn hotter and more unpredictably. If you want to extend the interval between sweeps, burn proper firewood and nothing else.
- Skipping the cap because “it worked before.” An uncapped chimney is an open invitation to birds, squirrels, rain, and debris. Panorama City’s older east-west streets with mature trees see significant leaf and twig entry into uncapped flues every fall. A properly specified cap from a supplier like Gelco is one of the lowest-cost, highest-value components you can add to a chimney.
When to Call a Professional
Call a professional when your ground-level checklist turns up anything you cannot fully identify or rule out: cracked crown, rusted chase cover, efflorescence, spalling brick, lifted flashing, or a damper that won’t seal. Call after any chimney fire, however small, before using the fireplace again. Call if you smell a strong campfire odor from the fireplace in warm weather, or if smoke enters the room during a fire. Call if you hear scratching or find nesting material. And call if it’s simply been more than a year since the last sweep. Chimney Sweep Panorama City covers the full system, from firebox to cap, including dryer vent cleaning and structural repair, under one call. Estimates are free in Panorama City; reach us at (866) 632-1828.
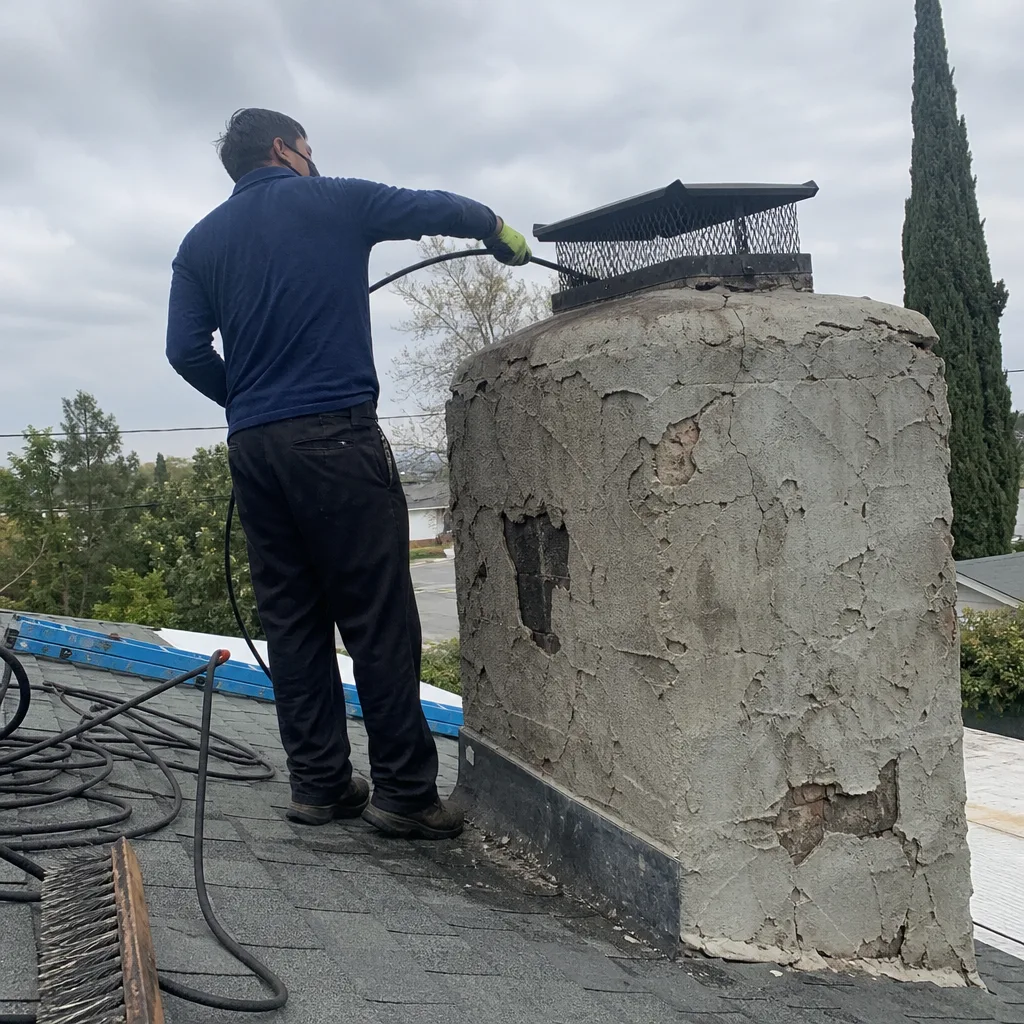
See the difference
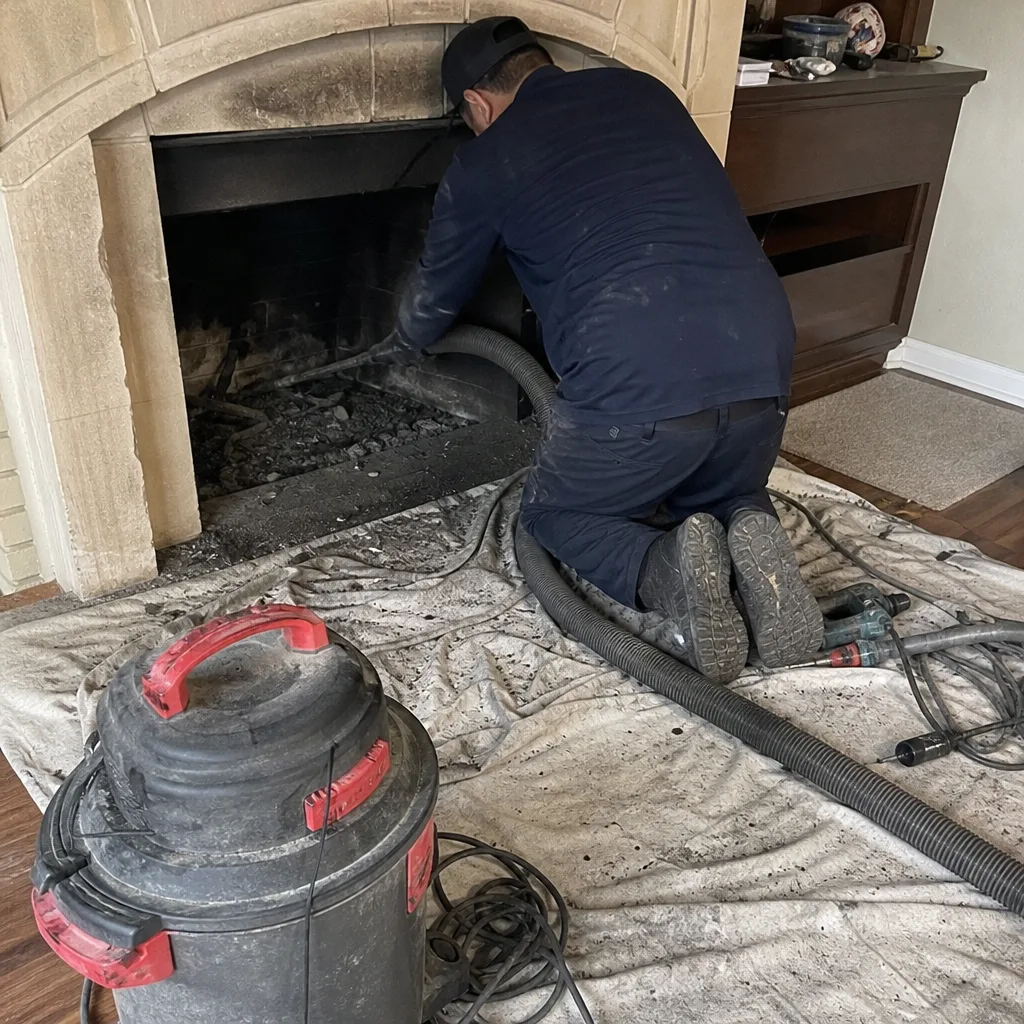 Before
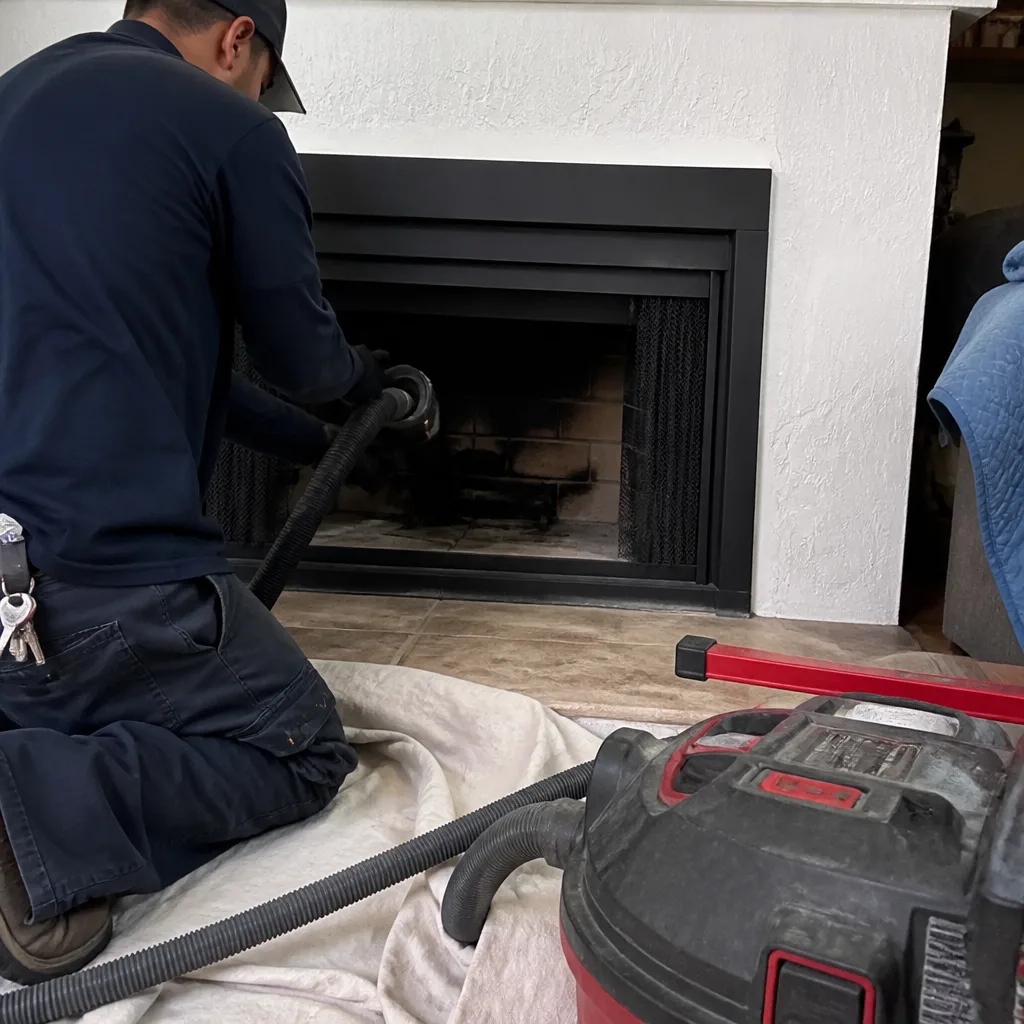 After
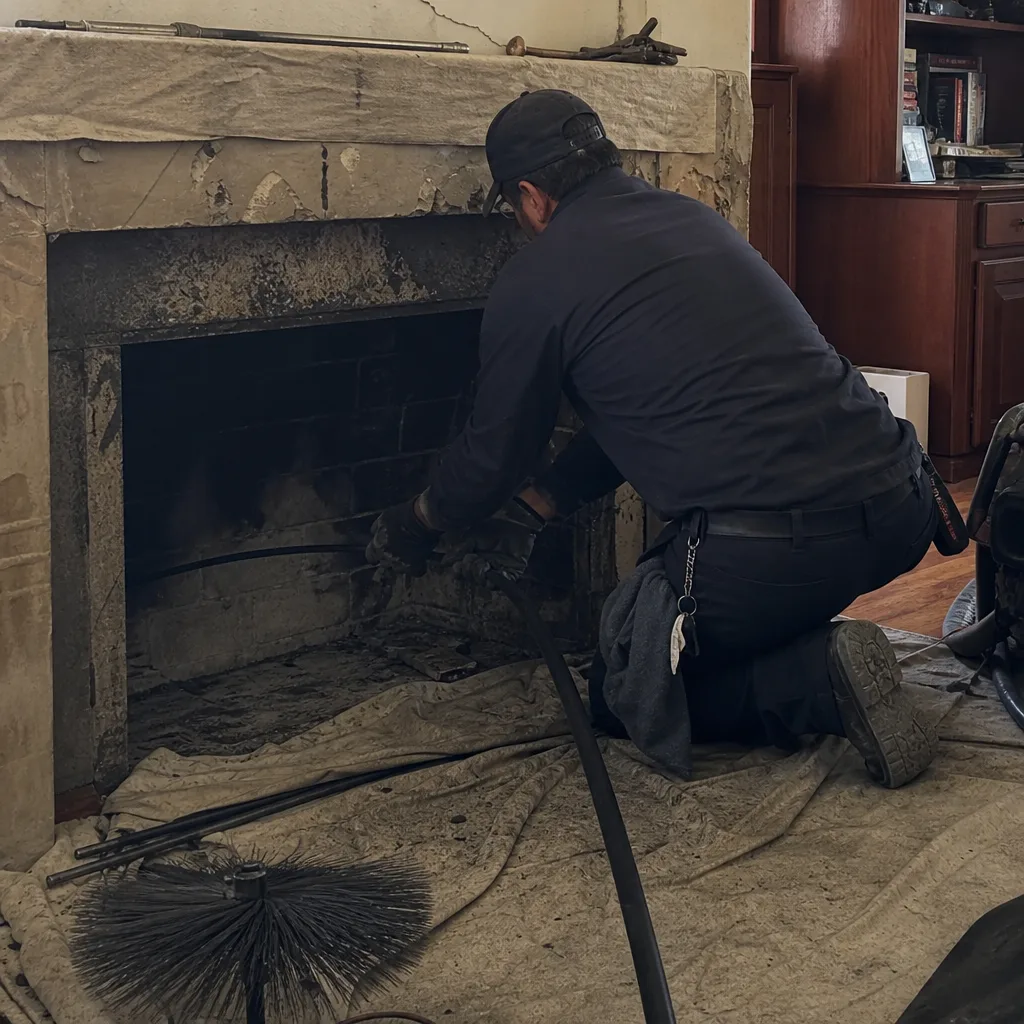 Before
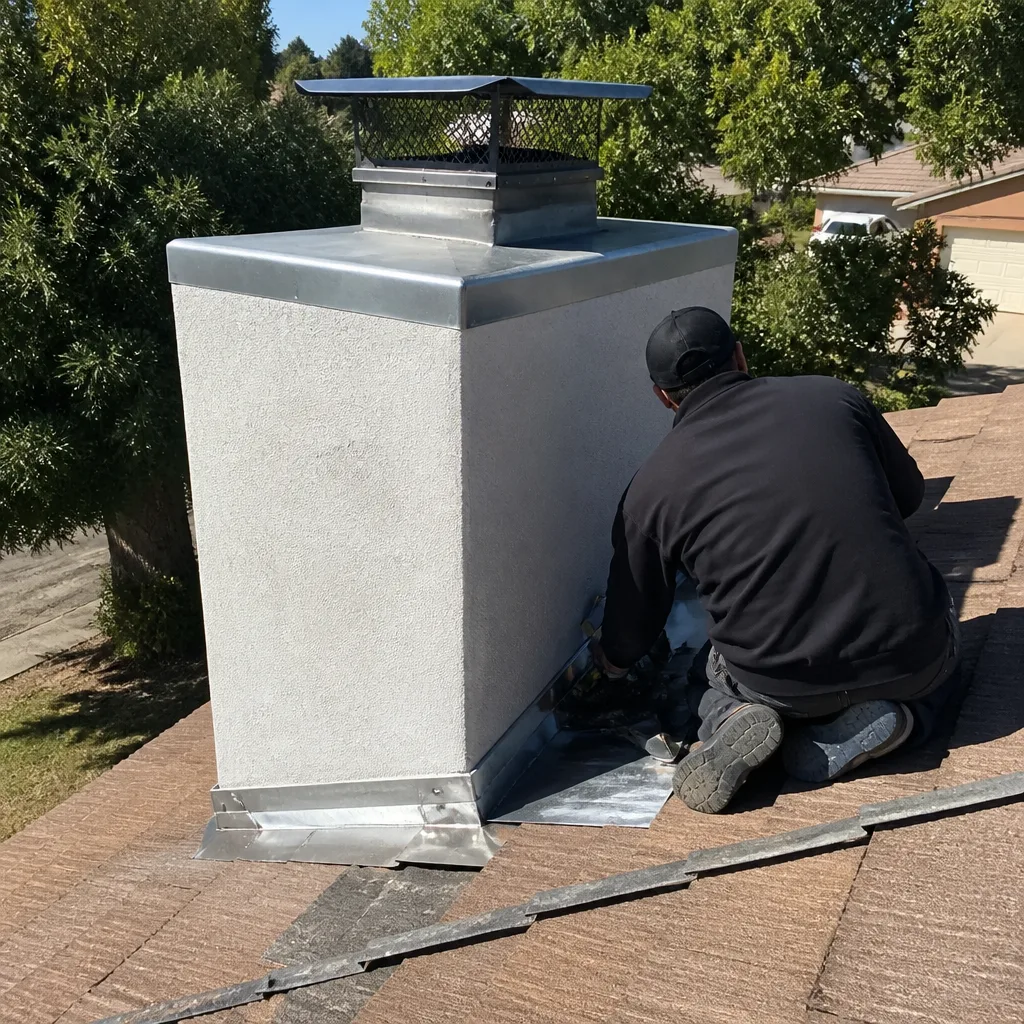 After
 Before
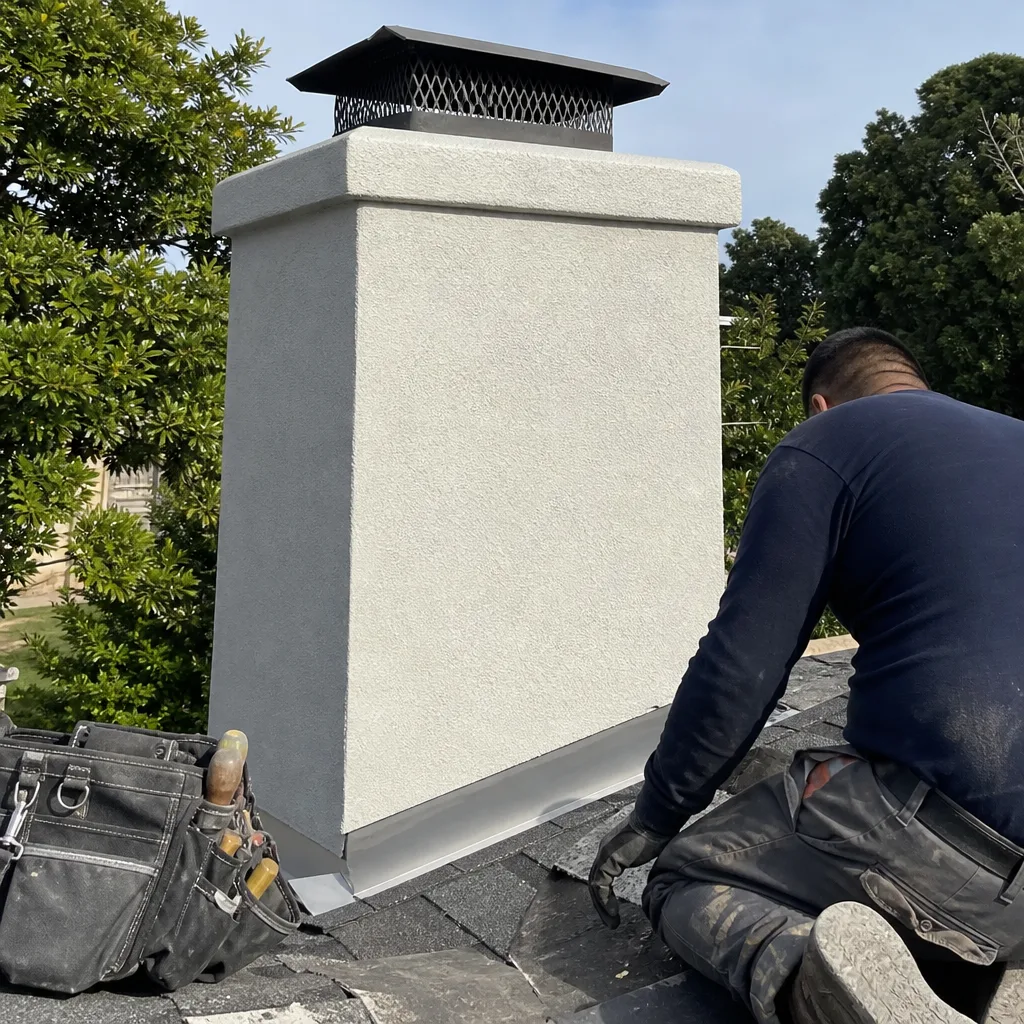 After
Frequently Asked Questions
A standard chimney sweep in Panorama City typically runs from $180 to $340, depending on the system type, the amount of creosote present, and whether any additional components like a cap or damper need attention. Masonry chimneys with heavy creosote run higher than prefab systems with light accumulation, because the labor and material handling differ. Call (866) 632-1828 for an exact quote, estimates are free.
You should never accept a liner replacement recommendation without camera evidence showing the damage. Cracked clay tiles, separated joints, or corrosion should all be visible on the footage. If the damage is confirmed, you may not need full replacement. HeatShield resurfacing technology can seal cracks and restore liner integrity at a fraction of full relining cost, and it’s an option many sweeps don’t carry. The decision hinges entirely on what the camera shows.
Annually, at minimum, for any household that burns wood. The National Fire Protection Association recommends sweeps whenever creosote reaches 1/8 inch thickness, which for most burning households translates to roughly once per year. If you burn less than a dozen fires a season, you might stretch to 18 months, but no further. The cost of a sweep is trivial compared to the cost of a chimney fire.
Creosote accumulates on the flue walls with every fire. Once it reaches a critical thickness, usually stage two, it becomes the primary fuel for a chimney fire. A chimney fire can reach temperatures that crack clay tile liners, warp metal flue pipe, and transmit heat through the surrounding masonry into wall cavities. Even a chimney fire that doesn’t spread can leave the liner so damaged that the system requires major repair before safe use again. Skipping the sweep is gambling with the single most expensive repair most chimneys ever need.
Yes, and a meaningful inspection should include a camera scan of the flue interior. Without camera footage, a sweep is cleanings but not inspecting. We run a camera through every flue we sweep, and we walk homeowners through the footage on site. That visual record is the difference between a cleaning and an inspection, and it’s the basis for any repair recommendation we make.
You can and should do the ground-level exterior inspection described in this guide, and you should build a photo baseline. But you cannot inspect the liner, smoke chamber, or the full interior of the flue without professional equipment. The homeowner checklist is designed to catch visible exterior problems and document baseline condition. The professional inspection catches what the camera and the trained eye see inside. Together they give you a complete picture. Call (866) 632-1828 for a free estimate if your own inspection turns up anything you can’t identify.
The Bottom Line
A chimney maintenance checklist is only as good as your understanding of the specific system you have on your roof. Masonry and prefabricated chimneys fail differently, and your checklist should reflect which one you’re maintaining. Build a photo baseline now, check the exterior monthly during burn season and after every Santa Ana wind episode, use the seasonal lists to guide when you look and what you look for, and never accept a liner diagnosis without camera proof. Most of what matters can be seen from the ground by a homeowner who knows what a healthy chimney looks like. The rest belongs to a professional with the right equipment. Run the checklist, keep the record, and call when the record shows change. For more guides & resources on chimney maintenance, explore our blog.
Written by the team at Chimney Sweep Panorama City, serving Panorama City since 2011.